Table of stacked items


Table of stacked items |
|
|
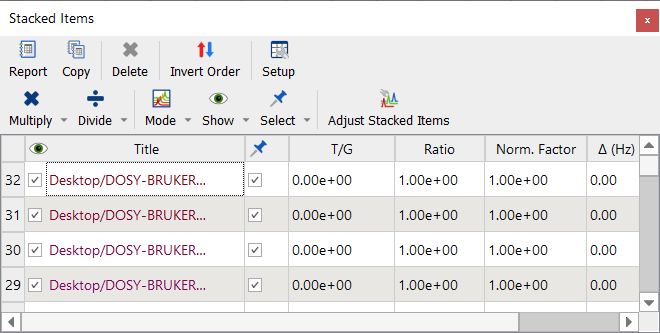
This table (View/Tables/Stacked Items) makes it possible to select spectra as an alternative way to the graphical method but it offers more features, including the ability to delete, hide or change the relative intensities of any spectra:
T/G column: ‘T’ stands for Time whereas ‘G’ stands for Gradient. The underlying idea is that the Data Analysis module is intended mostly to analyse (1) Reaction monitoring and relaxation experiments in which case the independent variable would be expressed in seconds and (2) Pulse field gradient (aca DOSY) experiments where the independent variable would correspond to field gradients strength.
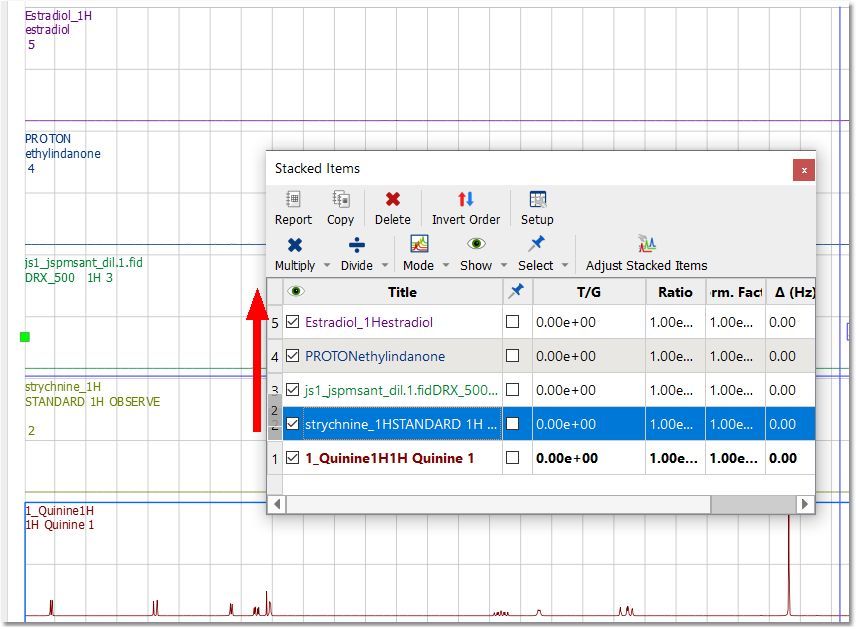
Sorting traces: The user can easily sort the traces by clicking on the number of the spectrum for which you want to change the location and dragging to the desired location. Clicking on the title header will sort the spectra in descending/ascending order by title.
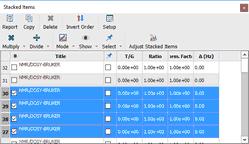
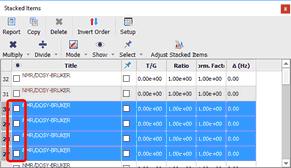
How to hide several spectra? It is really easy to hide slides, just: •Select in the table all those rows corresponding to the spectra you want to hide
•and uncheck the boxes of selected rows:
You can follow the same operations to restore those spectra.
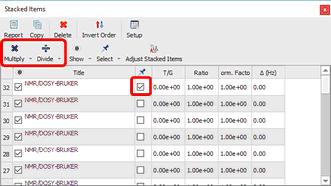
How to scale the traces of the stacked spectra? The user can also change the intensity of the traces by checking the box of the applicable trace(s) and clicking on the 'Multiply' or Divide' buttons:
Clicking on the scroll down menu of the multiply or divide buttons will allow you to select the factor value.
Please bear in mind that you can also use the buttons of the Stacked ribbon to multiply/divide the intensity of your traces.
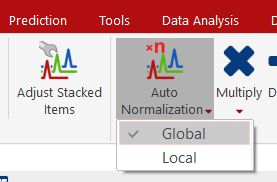
You can also normalize the traces of your spectrum by clicking on the 'Auto Normalization button, which has a dropdown menu to select if the action applies to the full spectrum (Global) or to the zoomed region (Local).
You can extract the 'Active Item' or 'All Items together by selecting the applicable options from the ribbon above.
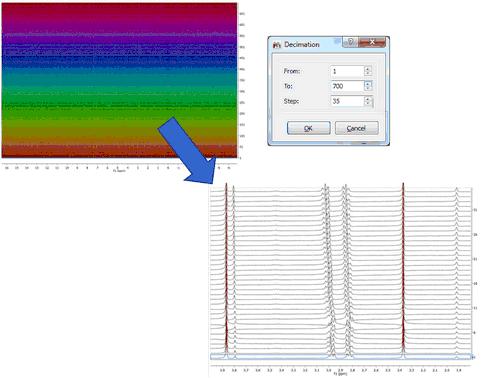
Decimation Worth mentioning is the ‘Decimation’ option:
This option is very useful when the number of stacked spectra is very large, slowing down the plotting and not showing relevant information
This shows the result of a R-M experiment consisting of 700 spectra. After selecting the decimation option, a new dialog shows up where you can select the first and last spectrum to be displayed and the step or decimation factor. In the picture below you can see how the dataset will look like after decimation:
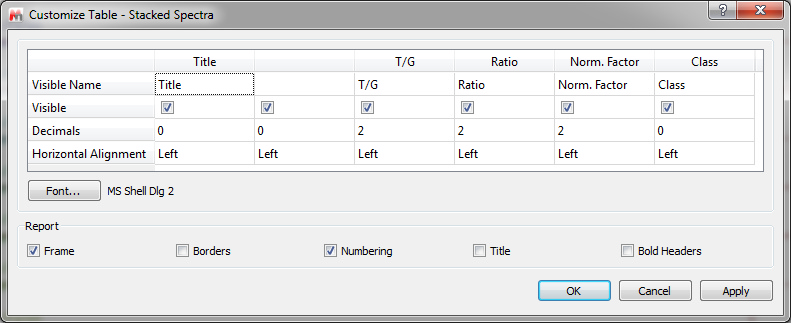
In the context of metabolomics, you would need to classify the stacked spectra by specifying a class. To do that, you can add an editable column to the Stacked Items table in order to input there a short text. You can show the 'Class' parameter by clicking on the 'Setup' button of the Stacked Items table (or on the Customize button of the 'Parameters Table'):
This parameter will be editable by double clicking on the 'class cell'. If you want to select a class for several traces at the same time, make sure that you check the applicable 'pin boxes':
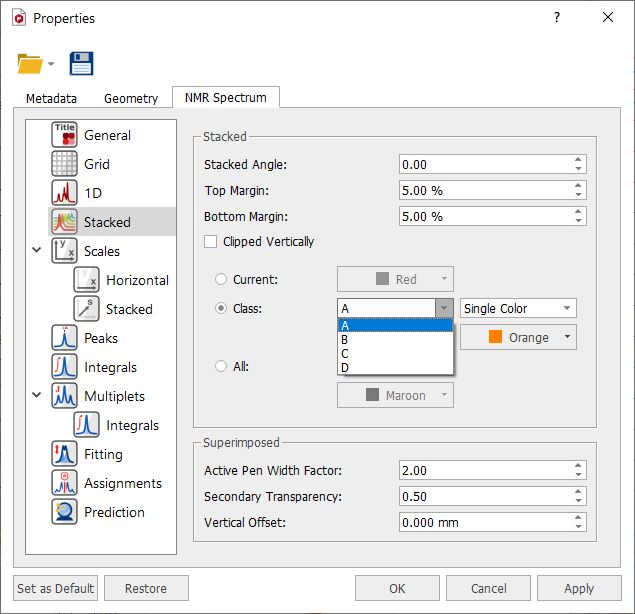
The Class properties can also be changed from the 'Properties' dialog box:
|